At a Glance
This guide contains affiliate links. As an Amazon Associate, we earn from qualifying purchases at no extra cost to you. Our recommendations are based on real dance floor testing.
My first practice floor was a 2x2 metre patch of foam puzzle mat in a Berlin apartment. It was just enough to stop apologizing to my downstairs neighbour while learning bachata body rolls. I’ve upgraded twice since, ruined one landlord’s floor with bad underlay, and learned what actually works.
Why a Home Floor Is Your Secret Weapon
Three 20-minute sessions at home will improve your dancing faster than adding another social night. The problem is your apartment wasn’t built for it. Carpet grabs your shoes, turning pivots into knee-twisting exercises. Tile and concrete have zero give, punishing your joints with every step. Even perfect hardwood is often too grippy for clean spins, and you can’t exactly take shoe polish to a rental.
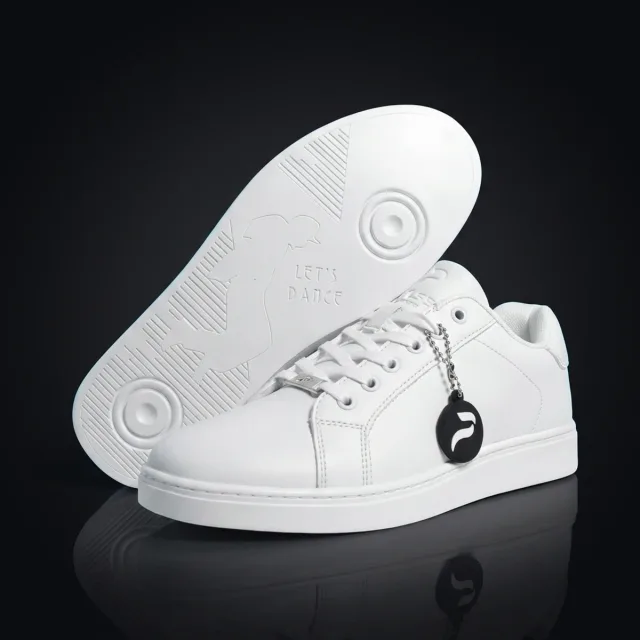
A dedicated practice floor is the fix. It provides the right glide for turns and crucial shock absorption for your knees. It also creates a mental trigger: this is your dance space. That alone makes you practice more. Your floor and your shoes are a team; make sure both are working for you by checking our guide to the best bachata dance shoes 2026.
The Main Floor Types, Demystified
You have four realistic options, from a quick weekend setup to a semi-permanent studio corner. The surface you dance on is only half the story; the subfloor underneath dictates the feel, the sound, and the price.
| Floor Type | Best For | Cost (2x2m) | The Feel |
|---|---|---|---|
| Foam Tiles Only | Beginners, non-turn drills | $30–$60 | Too grippy for spins |
| Foam + Vinyl Top | Apartments, best value | $150–$300 | Quiet with good glide |
| Plywood + Vinyl Top | Dedicated spaces | $300–$700 | Firm, studio-like bounce |
| Portable Folding Floor | Convenience, travel | $200–$500 | Rigid and ready to go |
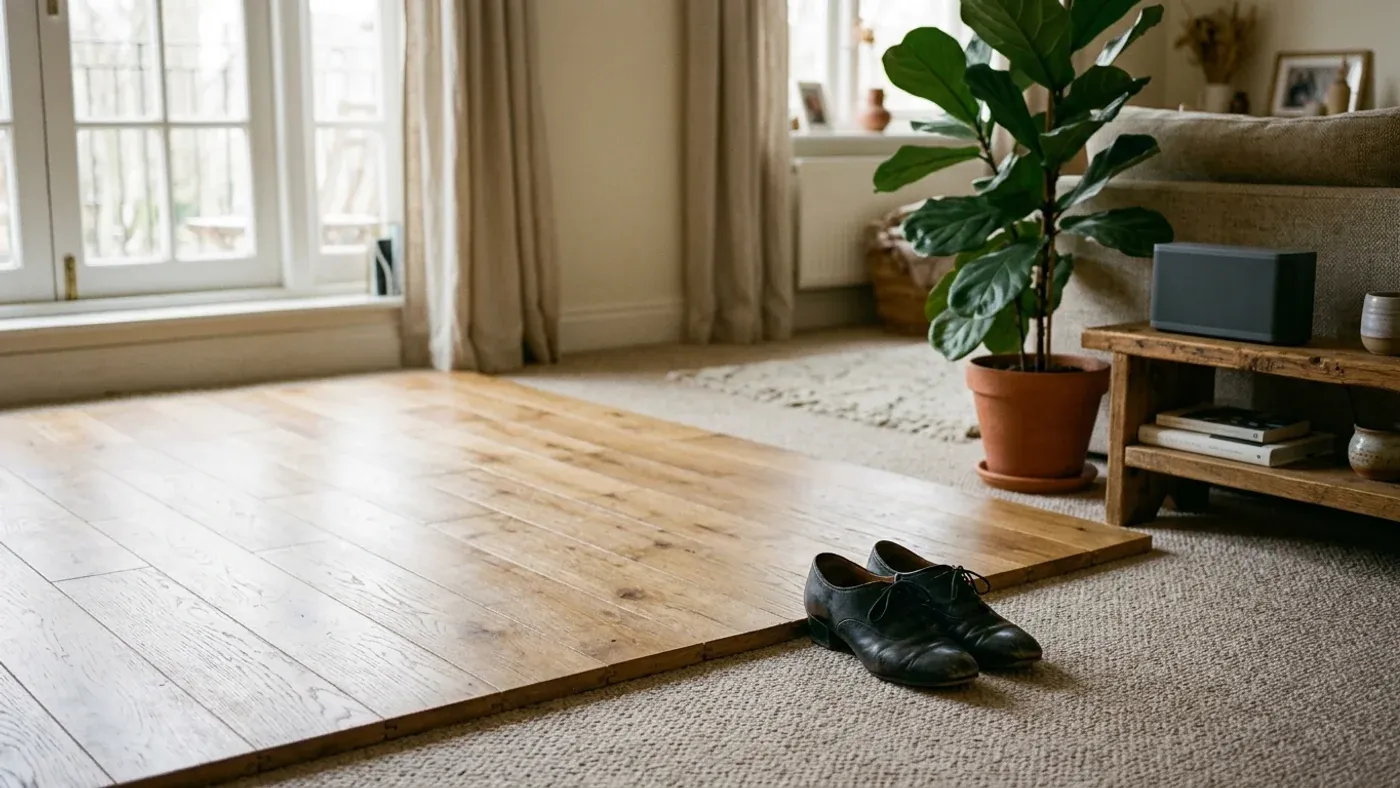
The best all-around setup for most social dancers is a layer of 2cm-thick EVA foam tiles with a rolled vinyl topper. The foam absorbs impact and sound, protecting your joints and your relationship with your neighbours. The vinyl surface provides the smooth, controlled glide you need for proper turns in salsa and bachata. It’s the setup I use daily. A 3/4 inch ProsourceFit tile base with a matte VEVOR vinyl roll on top covers exactly this combination.
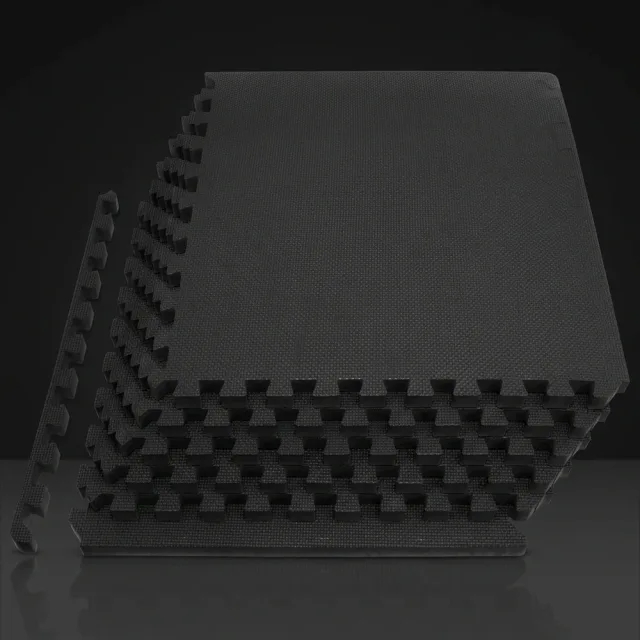
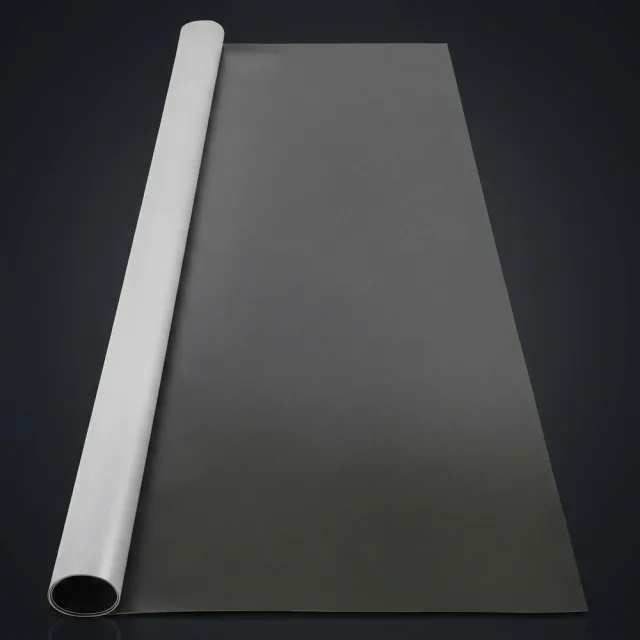
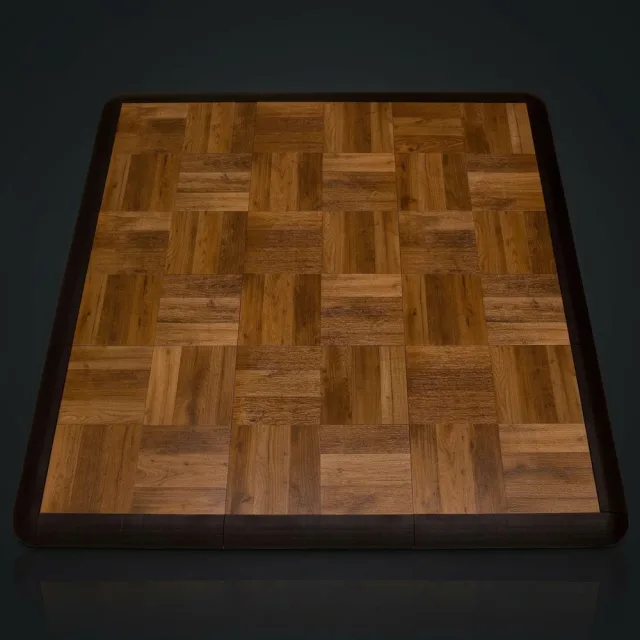
For a more permanent space, a plywood subfloor with a professional-grade Marley or Tarkett vinyl on top replicates the sprung feel of a real studio. It’s heavier and more expensive, but the feedback underfoot is unmatched. If you just need something for non-turning drills, foam tiles alone are a decent budget start, but you’ll outgrow their grippy surface quickly. And if you want a floor you can pack away between sessions, the SnapLock kit is a rigid snap-together surface you can expand tile by tile.
How to Choose: A Dancer’s Checklist
Before you buy, consider these four factors. Getting them right matters more than the brand name on the box.
First, assess your subfloor. What’s underneath dictates everything. A great vinyl roll laid on plush carpet will feel spongy and useless. The same roll on a plywood base over that carpet will feel fantastic. Concrete and tile are firm but require a foam or plywood layer to absorb shock. Hardwood is a great base, but protect it with a felt underlay.
Next, think about glide. You want a matte, slightly textured vinyl, not a glossy one. It should allow the ball of your foot to release smoothly in a pivot without feeling slippery. If you can, test a sample with your actual dance shoes. The goal is controlled release, not an ice rink. A floor that feels right lets you focus on your dancing, not your footing, whether you’re practicing for a social in Berlin or a festival abroad.
Apartment Setups That Keep the Peace
For apartment dwellers, noise is the deciding factor. Heel strikes and the pressure from spins transmit directly through most building structures. A plywood floor, while feeling great, can sound like a drum to your downstairs neighbours. The quietest setup, by far, is the foam-and-vinyl combination.
The ideal quiet floor stack, from the bottom up, is your existing floor, then 2cm-thick EVA foam puzzle tiles, and finally a 1.5-2mm rolled vinyl topper. The foam layer dampens impact noise dramatically. To reduce sound even further, practice in dance sneakers or socks instead of hard-heeled shoes, and try to keep your sessions between mid-morning and early evening.
Installation & Care: Avoiding Costly Mistakes
Building your floor is straightforward, but a few mistakes can ruin the result. Always clean your subfloor meticulously before starting; a single piece of grit trapped underneath will create a bump and eventually wear through the vinyl. When you unroll new vinyl, let it sit flat for 24 hours to acclimate to the room temperature before cutting it to size.
Avoid laying vinyl directly on medium-to-high pile carpet, it will never be stable enough. Use gaffer tape for seams, not duct tape, which leaves a destructive residue. If you’re putting plywood over hardwood, always use a felt underlay to prevent scratches. A little care during setup ensures your investment lasts for years of practice, getting you ready for dance floors from Paris to New York.
Once it’s built, maintenance is simple. Sweep or vacuum weekly to remove grit, and damp-mop monthly with a mild soap. Never wear street shoes on your floor. With basic care, a good home practice surface will serve you for a decade, turning frustrating drills into productive, satisfying sessions. Now you have a space to truly level up your dancing for any social in the world.
Find a Festival to Show Off Your Skills